
Hello everyone. Sorry that it has been a little while.
I have been working on three new projects.
One is a new website, my Zazzle store and my "Children of Myth" Collection.
Here is "Clover" the first of this collection.

This is the first of a least a set of four. This little girl I call "Clover". I loved the idea of a little fairy sitting in a field of grass with a little hare. I started to sketch her a few months back.
This was one sketch of thousands that I have saved.
Many people ask me...how do I draw...or... what is my process. It is very hard for me to explain this because I don't think into it like other artists do. I just start with an idea that is in my head and then I sketch. Sometimes I do what I call free sketch. This is where I start drawing shapes and lines and see what comes of it... sometimes nothing...
sometimes I sketch something useful.
Here is the starting sketch that I used to make Clover. I am embarrassed to show this to the public... because I know that it looks like a mess. Yet, it does look like something to me and this is the foundation that I built my painting from. Here is step 1:

Next is step 2. In step two I take the rough sketch above and start making it more pronounced. I darken the lines and start adding detail.

Next is step 3. In step three I start by filling in the shapes with different tones and blending them together I start to develop the main subjects and elements of the painting. I start with the faces first. If I do not get the face the way that I like it in sepia I do not finish the painting. Also, if I loose interest in the subject I throw the painting out.
This normally happens in this step.
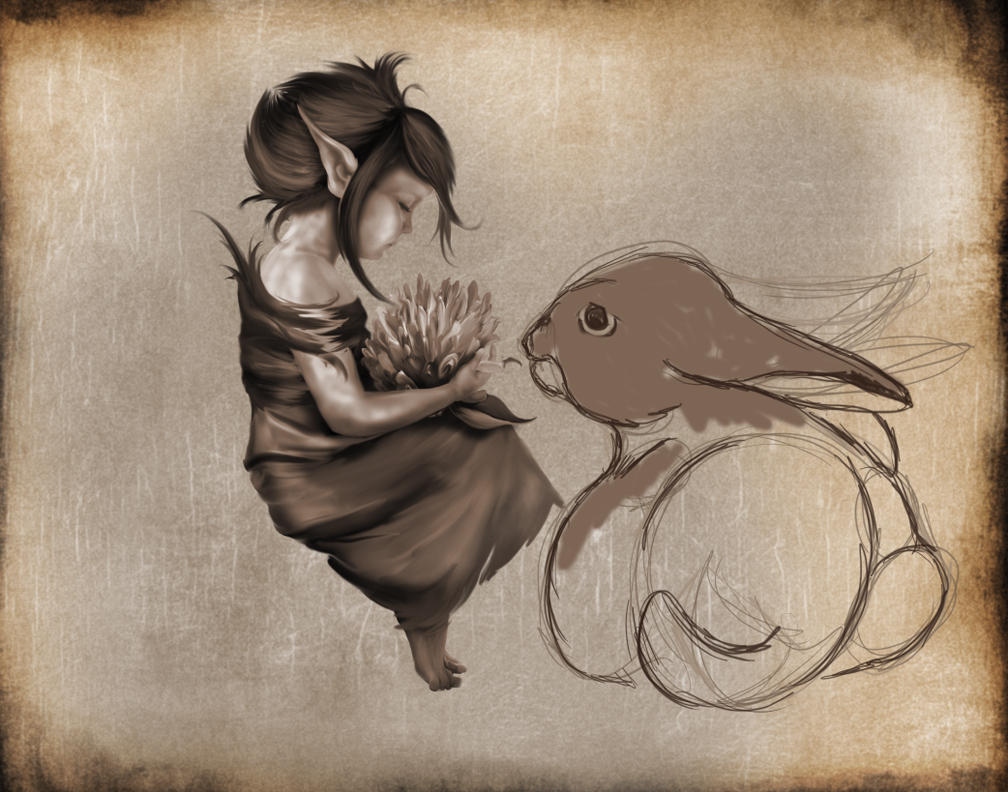
Next is step 4. In this step you can see that I have finished Clover
and the hare in sepia tones.
When I start a painting, I always work in sepia tones. I will make my whole painting this way.
When I have it the way that I like it that is when I add color.
Here you can see they are ready for color.

Next is step 5. In step five I have added color to the subjects that I have drawn. I add this color with transparent layers that I brush onto the subjects. For Clover alone, I will have over 300 layers of color that I flatten several times through this process. After they are colored I add the other elements like wings, rocks and grasses to the image.
This image shows me adding the wings and grounding the subjects with shadows.

Next is step 6. In step six I just fill in the rest. I add... add... and add detail. I will drive my self nuts over the littlest things. A little more white here... a little more shading there. This final process is where I really go crazy with the layers. I would create about 10 layers then flatten them. I will do this over and over again until the painting looks the way that I like it. Here is the final Clover.
Well... that shows you the how to... I hope. If you have any questions let me know I will try to answer them the beat that I can. Thanks again... and I will keep you with updated works.